Deadly Escape First Boss Fight Guide
Survive the chapter-one arena, barrel hazards, and unlock I Will Survive.
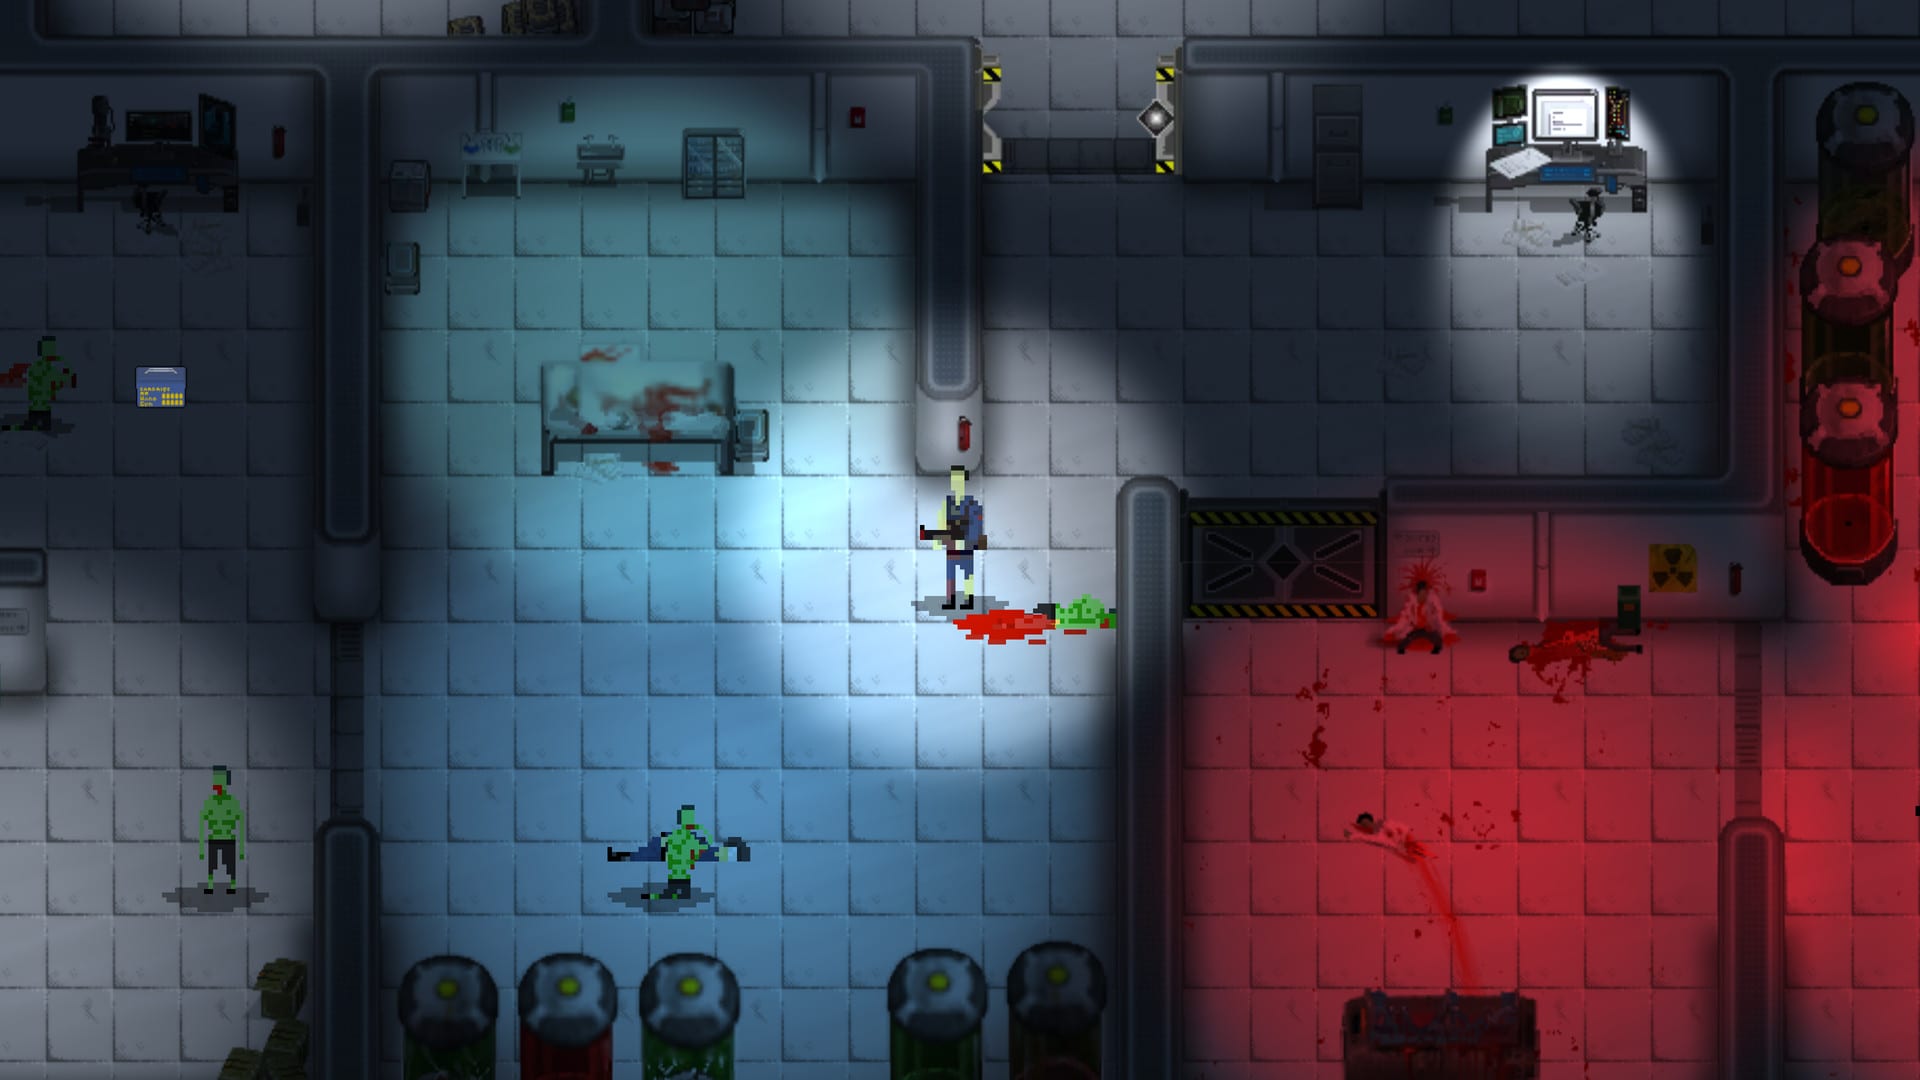
The first major boss in Deadly Escape appears at the end of chapter one, after you power the generator, collect mid-tier keys, and descend through maintenance wings toward a sealed arena. Defeating this enemy unlocks the I Will Survive Steam achievement — one of the rarest trophies by global unlock percentage because chapter one’s one-life rule punishes sloppy entry and because barrel-filled arenas confuse first-time players.
This guide covers pre-fight preparation, arena layout, phase behavior, barrel tactics tied to Green Rain, known glitches reported on Steam, and post-fight exit steps toward chapter two. Read Combat & Ammo for weapon economy and Full Walkthrough for route context leading into the arena door.
Before you enter the arena
Boss fights in Deadly Escape are gear checks as much as skill tests. Do not trigger the cutscene or door lock until you confirm:
Ammo inventory
- Handgun: at least one full magazine plus partial reserve.
- Shotgun: six to twelve shells if acquired — primary boss damage dealer for most players.
- Rifle: optional; save rifle rounds for chapter two if you are not achievement hunting Never saw it coming.
Healing
- Carry one medkit if below sixty percent health. Using medkits across the campaign contributes to Ouch — see Combat & Ammo.
Controls refresh
- Confirm reload (R), weapon swap, and strafe bindings from Controls — panic during barrel phases causes missed inputs on macOS or Linux if window focus slipped.
Save checkpoint
- The game auto-saves before many boss rooms. Note where you respawn if death sends you to chapter start versus arena antechamber.
If supplies are low, backtrack to ammo boxes documented in the Infirmary & Facility Map rather than entering under-stocked.
Arena layout and hazards
Community discussion and achievement data describe a confined industrial arena with:
- Explosive barrels scattered as cover and damage tools.
- Limited safe corners where you can reload without body-blocking.
- A hatch or exit platform visible after the boss dies — the transition point into chapter two.
Barrels serve dual purposes:
- Direct damage — shoot a barrel when the boss or adds stand adjacent; splash counts toward Green Rain if undead minions spawn.
- Environmental chaos — the boss may strike barrels repeatedly, delaying attacks or throwing them toward you depending on pathing.
Steam user reports note occasional boss-barrel glitches: the boss repeatedly slams barrels without immediately hurling them, then suddenly triggers a volley. Treat barrels as unpredictable until animation completes.
Boss behavior overview
Exact naming varies in fan discussion, but pattern recognition matters more than lore titles. Expect:
Melee pressure phase
The boss closes distance with heavy swings. One or two connected hits drain most of your health on a fresh save. Maintain circular strafing — move perpendicular to approach vectors using WASD while cursor tracks the boss.
Ranged or thrown hazard phase
Barrels become projectiles or shockwave sources. Watch floor telegraphs and break line-of-sight behind remaining barrels not yet detonated.
Add spawn windows (if present)
Some survival horror bosses summon undead adds. Prioritize adds only if they block reload or touch-range you; otherwise focus boss HP to end the fight faster.
Enrage or final stretch
Below roughly thirty percent health, attack cadence speeds. This is when reserved shotgun shells matter most — dump stagger shots, reload behind cover, repeat.
Recommended tactics by weapon
Handgun-only entry
Possible but slow. Tap headshots when the boss pauses after barrel throws. Never reload in open center — use arena edges. This approach teaches spacing but risks one-life failure if mistakes stack.
Shotgun focus (recommended)
Close to mid range, fire two shells during stagger windows, strafe out before counter-swing. Pre-switch shotgun before triggering the fight so first animation is not wasted on weapon swap delay.
Pair with Stay Away! achievement tracking if you still need shotgun kill credit — adds die quickly to shells.
Rifle focus
Only if you already finished Ready for Action and want Never saw it coming progress. Stay at maximum effective range; circle strafe to avoid barrel splash.
Barrel exploitation
When the boss paths near barrels, shoot containers for free damage. Do not stand adjacent — self-damage is possible. If adds appear, lure them into barrel radius before detonation for efficient Green Rain counts without spending magazine ammo.
Step-by-step fight flow
- Enter arena and identify barrel clusters before engaging — mental map saves reload panic.
- Trigger fight via cutscene door or interact object; backpedal immediately to create spacing.
- Circle strafe default — never stand still except to fire brief bursts.
- Shotgun burst on stagger — two shells, reposition, reload behind cover.
- Detonate barrels when boss or adds overlap — track Green Rain progress mentally.
- Medkit after safe phase — heal only when boss is across arena or during add-less downtime.
- Finish with concentrated shotgun or handgun headshots when boss HP bar is visibly low.
- Hold position after kill until cutscene completes — see glitch section below.
Known bugs and workarounds
Steam discussion thread boss bug(s) documents issues after chapter one finale:
- Boss stuck on barrels, repeating slam animation before throwing.
- Post-death animation glitch — boss model spins or walks upside down toward the hatch, blocking progression.
- Menu inaccessible during glitch state in rare cases.
Workarounds players report:
- Pause with Escape and reload last checkpoint if hatch cutscene started then froze.
- Alt-tab and verify window focus on Linux before assuming soft lock.
- Restart game via Steam and choose Continue — chapter checkpoints usually preserve pre-boss progress so you need not replay entire chapter one.
Developer pinned bug threads for chapter one and two on Steam Community; expect no major patches years later, so checkpoint awareness is your best tool.
After the boss dies
Successful kills trigger I Will Survive immediately. Then:
- Watch the exit cutscene toward the hatch or lift.
- Interact with the hatch to load chapter two.
- If achievements or leaderboard time matter, note your chapter one duration before descending.
Chapter two difficulty spikes — carry forward any unused medkits and leftover shotgun shells per Full Walkthrough.
Practice and replay tips
Speedrunners optimize boss entry ammo by skipping optional infirmary fights documented on Infirmary & Facility Map. Achievement hunters may deliberately die once in the arena to learn barrel spawn timing without risking whole-run integrity, then reset for a clean one-life clear.
If I Will Survive fails to unlock despite a kill, verify you defeated the chapter-one finale enemy and not a mini-elite in the prior corridor — only the scripted boss awards the achievement.
Related guides
- Full Walkthrough — entire chapter one route into the arena
- Combat & Ammo — shotgun, medkit, and barrel achievement details
- Controls — strafe and reload under pressure
- Getting Started — one-life chapter rules
- Guides Hub — return to index for lore or map help
Frequently Asked Questions
Quick answers to the most common questions.
Which achievement is tied to the first boss?
Defeating the chapter-one boss unlocks I Will Survive. It is one of the rarest Deadly Escape achievements on Steam.
Should I use barrels during the boss fight?
Yes when safe. Barrel explosions damage the boss and nearby undead, counting toward Green Rain if adds are present.
What if the boss glitches after dying?
Reload your last checkpoint via pause or restart the game and continue. Steam discussions report hatch cutscene bugs that checkpoints usually fix.
How much ammo should I bring?
Aim for a full handgun magazine plus six or more shotgun shells. Backtrack for ammo boxes if you enter with less.