Deadly Escape Full Walkthrough
Room-by-room escape from the infirmary through both chapters to freedom.
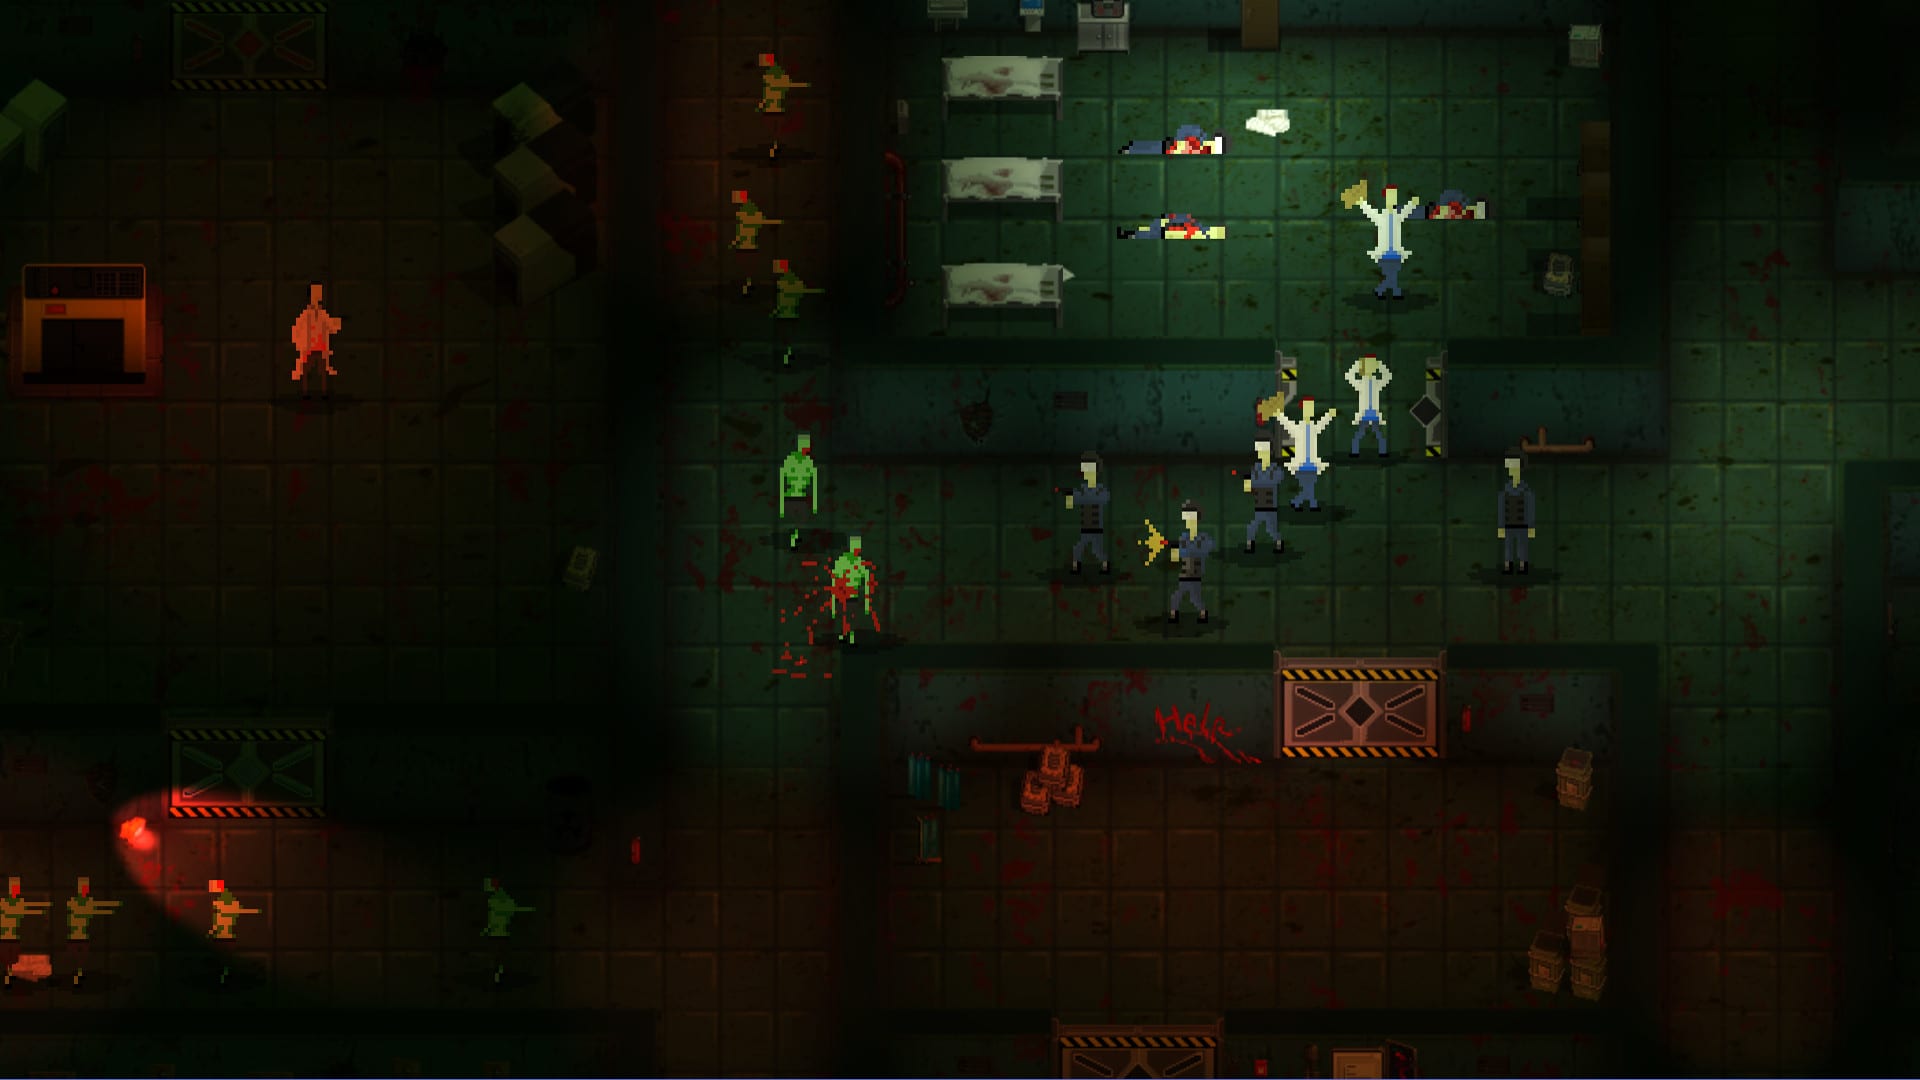
This walkthrough covers Deadly Escape from the moment you wake in the infirmary through the hatch escape that ends the Steam campaign. It assumes keyboard-and-mouse play on Windows, macOS, or Linux, and links to specialized guides when deeper detail helps — Controls for inputs, Combat & Ammo for weapon economy, Infirmary & Facility Map for spatial orientation, First Boss Fight for the chapter-one finale, and Story & Lore for document context.
Spoiler warning: Every puzzle solution and key order appears below. Read Getting Started first if you only want chapter rules without solutions.
Chapter overview
The base Steam release contains two chapters forming one escape arc:
- Chapter 1: Infirmary breakout, early facility wings, generator restoration, first boss, exit via hatch or service route.
- Chapter 2: Deeper complex descent, higher undead density, rifle acquisition, final lockdown bypass, escape to surface or tram exit.
Each chapter expects a one-life clear for leaderboard prestige, though automatic saves at milestones let you resume after death without replaying the entire game.
Chapter 1 — Infirmary wake to first boss
Wake-up and initial exploration
You begin on an infirmary gurney or adjacent recovery room. The facility is silent except for distant groans. Interact with nearby notes — they establish that an undead raid triggered lockdown and staff died attempting escape.
Immediate goals:
- Locate the handgun and first ammo box in the near infirmary wing.
- Read every note on desks; codes and key colors appear in plaintext or riddles summarized on Story & Lore.
- Map mentally which corridor doors show red lock lights versus open paths — see the Infirmary & Facility Map for zone names.
Clear the first undead in a side bay to unlock Oh No! and begin kill-count achievements tracked in Combat & Ammo.
Infirmary wings and first keys
Progress through patient rooms and nurse stations. Pick up:
- Color-coded keys or keycards on corpses or wall hooks.
- Handgun ammo in drawers; do not exceed seventy percent magazine waste on lone zombies.
- Story documents optional for lore but sometimes hint keypad order.
Locked doors guard the transition from pure infirmary tiles into maintenance corridors. Backtrack is normal — a key in the east wing often unlocks west wing exits you passed earlier.
When a corridor hosts multiple undead, consider returning after clearing a side office that contains a chokepoint door you can shut.
Maintenance, fuses, and generator puzzle
Mid-chapter routes you into maintenance and sub-level passages where industrial lighting replaces clinical white walls. This section hosts the generator puzzle tied to achievement I See The Light.
Typical sequence:
- Find a fuse or breaker panel note describing which switches must be active.
- Collect fuse items or throw breaker levers in side rooms — order matters when notes reference red versus green indicator lights above doors.
- Return to the central generator room and interact with the main switch once all prerequisites are met.
- Watch lock lights change from red to green on previously sealed security doors.
If a door remains locked after powering the generator, you missed a secondary breaker in a basement alcove. Revisit flickering-light corridors on the map page.
Explosive barrels begin appearing here. Lure undead clusters before shooting barrels to progress Green Rain without extra ammo spend — details in Combat & Ammo.
Shotgun acquisition and deeper facility
Past the generator, security wings mix office cubicles and specimen storage. Expect ambush spawns when picking up:
- Shotgun plus shell stack.
- Second-tier keycard opening passage doors toward the arena wing.
- Medkits — use judiciously; five total uses unlock Ouch across both chapters.
Switch to shotgun in double-spawn doorways. Save handgun ammo for the upcoming boss unless you are confident in headshot rhythm from Controls.
Keypad and code rooms
Some bulkheads require numeric codes learned from nurse notes or whiteboard scraps. Interact with the keypad, enter digits with keyboard or UI buttons, confirm quickly — undead may still patrol nearby.
If a code fails:
- Re-read the note referencing the corpse who worked that ward.
- Check Story & Lore for consolidated code references without replaying every document.
Chapter 1 boss and hatch exit
The chapter culminates in a boss arena filled with throwable barrels and limited cover. Defeating this enemy unlocks I Will Survive. Do not enter under-stocked — see First Boss Fight for phase breakdown, barrel hazard notes, and known glitch workarounds from Steam discussions.
After the boss falls, a cutscene leads you toward a floor hatch or service lift. Interact to descend into chapter two. If the boss animation glitches post-death, pause and reload last checkpoint — a reported issue when the body clips into the hatch.
Chapter 2 — Deep facility to final escape
Opening and increased pressure
Chapter two opens in lower facility levels — boiler aesthetics, cable trays, and fewer medical props. Undead density rises; running past groups sometimes beats fighting if a key destination is nearby.
Priorities:
- Secure rifle location early for Ready for Action and future Never saw it coming tracking.
- Re-stock shotgun shells before multi-room swarm sequences.
- Continue reading documents — they explain why the raid reached this deep and who sealed the final exit.
Passage doors and wing navigation
Chapter two reuses the passage door structure from late chapter one: sequential bulkheads labeled or color-coded in notes. Keys found in side labs unlock the next passage.
Use Infirmary & Facility Map terminology (Passage zones, laboratory wing, tram platform) to avoid circular navigation. Closing doors behind you reduces spawn noise from previous wings.
Late puzzles and tram or elevator
Expect a second power or alignment puzzle — aligning breakers, redirecting steam valves, or matching keycard colors to reader slots. Notes near corpses who died mid-attempt usually spell out the sequence literally.
When power returns, a tram, elevator, or freight lift becomes interactable. Ride or activate it only after confirming inventory includes any final key item highlighted in your HUD or note log.
Final gauntlet
The last corridor before surface escape throws mixed undead types together. Recommended loadout:
- Handgun for cleanup shots.
- Shotgun for paired enemies.
- Rifle for mid-range targets if still hunting twenty rifle kills.
Heal before the final door if a medkit remains and Ouch is not yet unlocked.
Escape and credits
Interact with the exit hatch, blast door, or ladder sequence indicated by emergency signage. Credits roll after escape; leaderboards record your total time.
Return to chapter select if you want achievement mopping — Combat & Ammo lists which kills are easiest to finish in a second run.
Suggested single-run checklist
Use this during one playthrough to minimize replays:
- Pick up handgun and first ammo (infirmary)
- Power generator (I See The Light)
- Collect shotgun before mid-chapter swarms
- Track ten handgun kills (That Was Close)
- Use barrels for undead kills (Green Rain progress)
- Defeat chapter 1 boss (I Will Survive)
- Find rifle early chapter 2 (Ready for Action)
- Use five medkits total (Ouch)
- Reach twenty rifle kills if aiming for Never saw it coming
- Escape both chapters for leaderboard entry
When you get stuck
Soft lock symptoms: Door will not open despite key — verify generator power and secondary breakers.
Repeated death on boss: Read First Boss Fight, stock shotgun shells, exploit barrel splash carefully.
Lost in identical corridors: Open Infirmary & Facility Map and identify the nearest landmark (generator room, nurse station, passage door number).
Achievement missing after credits: Some kill counts require finishing during the same session; replay shorter chapter segments.
Related pages
- Guides Hub — index of all guide topics
- Getting Started — chapter rules and Roblox name confusion
- Boss Fight — arena-only strategy
- Story & Lore — why the facility fell
- Updates — post-2018 patch notes and chapter scope
Frequently Asked Questions
Quick answers to the most common questions.
How many chapters are in Deadly Escape?
The Steam base game includes two chapters. Chapter one ends after the first boss and hatch descent; chapter two continues to the final escape.
Where do I restore generator power?
Collect fuses or flip breakers in maintenance wings, then activate the central generator switch. Success unlocks I See The Light and opens sealed security doors.
What should I do before the first boss?
Stock handgun and shotgun ammo, carry a medkit if injured, and note barrel positions. See the First Boss Fight guide for detailed arena tactics.
Can I finish all achievements in one run?
Most combat achievements fit one thorough playthrough, but Never saw it coming needs twenty rifle kills and may require conscious tracking from the rifle pickup onward.