Deadly Escape Infirmary & Facility Map
Navigate every wing from the waking room through maintenance, passages, and escape routes.
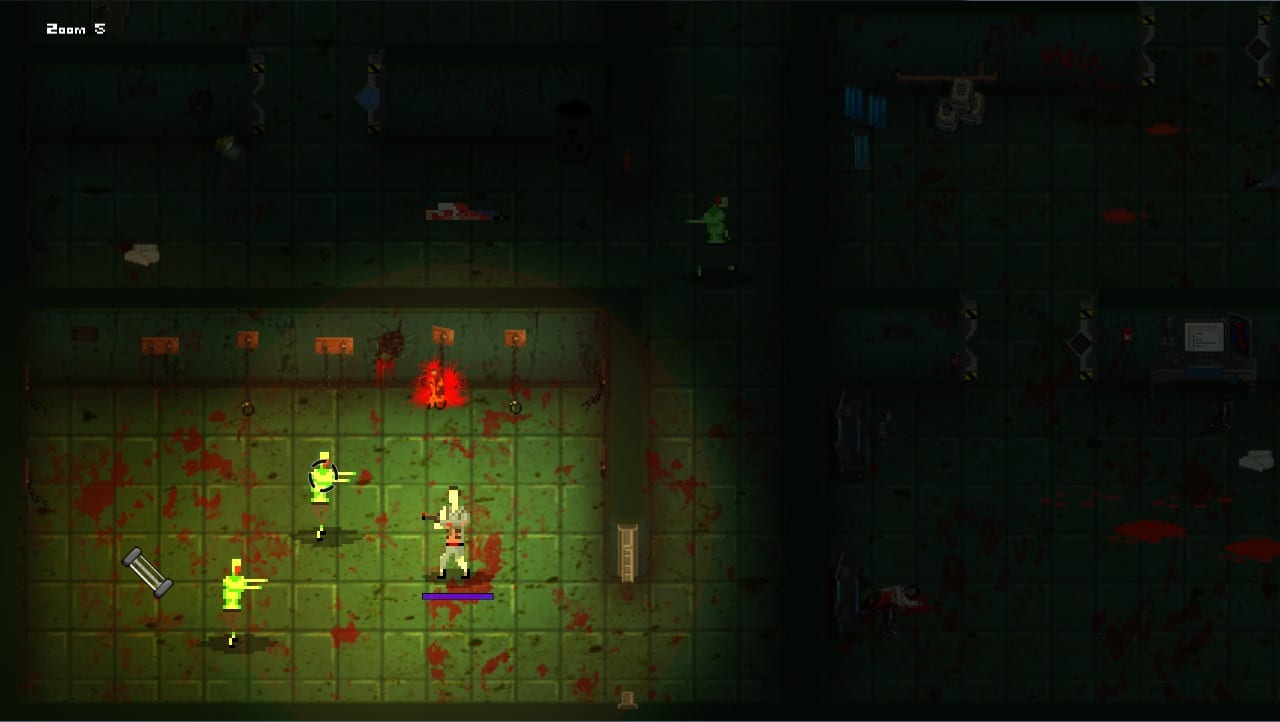
Deadly Escape uses interconnected top-down zones rather than a single open-world map screen. Learning how regions connect prevents the circular backtracking that mixed Steam reviews sometimes cite as confusing — especially when a key found in the east wing unlocks a door you passed thirty minutes earlier in the infirmary. This area guide names each major zone, lists typical items and threats, and points to specialized guides for combat and story context.
Use alongside Full Walkthrough for puzzle sequences, Combat & Ammo for spawn-heavy rooms, Story & Lore for document locations, and First Boss Fight for the chapter-one arena wing.
Map reading basics
The game communicates space through:
- Door lock lights — red sealed, green open after keys or generator power.
- Floor tile shifts — clinical white (infirmary) versus industrial gray (maintenance) versus dark boiler levels (chapter two).
- Signage and props — nurse stations, X-ray labels, passage door numbers, generator warnings.
- Audio cues — groans through vents hint adjacent undead without minimap dots.
There is no in-game world map UI. This wiki page is your external reference.
Zone A — Infirmary wake and recovery wing
When you visit: Chapter one opening minutes.
Landmarks: Gurneys, IV stands, privacy curtains, bedside tables with notes.
Typical loot: Handgun, first handgun ammo, initial medkit chance, lore memos about lockdown.
Threat level: Low — one or two undead tutorials.
Navigation tips:
- Clear adjacent patient bays before entering central nursing desk — desks often hold keys visible only from the correct approach angle.
- Memorize which corridor leads to Zone B clinical hall versus a dead-end supply closet.
- Read notes here for names reused on keypads later; see Story & Lore.
Connects to: Zone B (clinical corridors), sometimes a shortcut back from Zone C after keys.
Zone B — Clinical corridors and nurse stations
When you visit: Early chapter one after arming yourself.
Landmarks: Nurse station counters, medicine cabinets, waiting chairs, blood trails.
Typical loot: Keycards on corpses, handgun ammo in drawers, optional medkit.
Threat level: Low to medium — paired spawns in choke hallways.
Navigation tips:
- Nurse stations act as hub rooms — return here when lost; three corridors usually branch outward.
- Partially open doors may reveal undead or story eggs visible but unreachable until later keys — Full Walkthrough notes which require backtracking.
- Use handgun tap-fire per Combat & Ammo to conserve ammo before shotgun acquisition.
Connects to: Zone A (recovery), Zone C (maintenance transition), locked passage preview doors.
Zone C — Maintenance and generator complex
When you visit: Mid chapter one after clinical keys.
Landmarks: Pipes, breaker boxes, flickering lights, generator room with main switch, explosive barrels.
Typical loot: Fuses or breaker levers, shotgun near wing entrance, shotgun shells, generator puzzle components.
Threat level: Medium — ambushes when flipping breakers.
Navigation tips:
- Solve generator puzzle here for I See The Light — power restores green lights on security doors leading to Zone D.
- Barrel clusters ideal for Green Rain — lure undead before shooting containers; details in Combat & Ammo.
- Sub-passages may loop; if door lights stay red after generator activation, search basement alcoves for secondary breakers mentioned in maintenance notes.
Connects to: Zone B (clinical return path), Zone D (security passages), optional basement loops.
Zone D — Security passages and office wings
When you visit: Late chapter one pre-boss.
Landmarks: Passage Door 1 / 2 / 3 style bulkheads, cubicles, specimen storage labels, keypad doors.
Typical loot: Color keycards, shotgun ammo refreshes, rifle preview locked gates (rifle often chapter two), medkits.
Threat level: Medium to high — scripted ambushes on key pickup.
Navigation tips:
- Passage doors gate sequentially — keys from side rooms unlock the next bulkhead; closing doors behind you reduces audio confusion.
- Keypad codes come from nurse notes in Zones A–B; cross-check Story & Lore if digits blur together.
- Red miasma or hazard markers in some discussions act as visual landmarks between T-junctions — when in doubt, choose the corridor with recent corpse loot.
Connects to: Zone C (maintenance backtrack), Zone E (boss arena antechamber).
Zone E — Boss arena and hatch descent
When you visit: Chapter one finale.
Landmarks: Industrial arena, barrels, exit hatch or lift platform.
Typical loot: Post-fight progression trigger only — no major farming.
Threat level: Boss encounter — see First Boss Fight.
Navigation tips:
- Save ammo before entry; backtrack to Zone C or D ammo boxes if low.
- After victory, interact with hatch promptly; report glitches if boss corpse clips into exit animation.
Connects to: Chapter two opening (Zone F).
Zone F — Deep facility and boiler levels
When you visit: Chapter two opening.
Landmarks: Cable trays, steam pipes, dimmer lighting, freight signage.
Typical loot: Rifle (Ready for Action), rifle ammo, shotgun refreshes, late keycards.
Threat level: High — larger spawn groups.
Navigation tips:
- Prioritize rifle pickup early for achievement tracking in Combat & Ammo.
- Vertical cues (stairs, ladders) mark transitions between sub-levels — easy to over-run and return confused.
Connects to: Zone G (tram or elevator platform), loops back to locked maintenance for optional loot.
Zone G — Tram, elevator, and final exit gauntlet
When you visit: Chapter two climax.
Landmarks: Tram car, elevator call panel, emergency blast doors, ladder or hatch signage.
Typical loot: Final key item, last medkit chance, minimal ammo before point of no return.
Threat level: High — mixed enemy gauntlet before escape interactable.
Navigation tips:
- Restore secondary power if tram inactive — puzzle parallel to Zone C generator logic.
- Heal before final door if pursuing Ouch achievement.
- Escape interactable triggers credits; no return path.
Connects to: End of campaign — surface or evacuation cutscene.
Landmarks cheat sheet
| Landmark | Zone | Purpose |
|---|---|---|
| Nurse station hub | B | Orientation and key pickup |
| Generator main switch | C | Power doors; I See The Light |
| Explosive barrels | C, E | Green Rain kills, boss hazards |
| Passage Door bulkheads | D | Sequential chapter one progress |
| Keypad doors | B, D | Code from notes |
| Hatch / lift | E → F | Chapter transition |
| Rifle spawn | F | Ready for Action |
| Tram / blast door | G | Final escape |
Backtracking strategy
Backtracking is by design, not a detour mistake:
- Pick up key in deep wing.
- Return to hub (nurse station or passage junction).
- Unlock previously red-light door.
- Push forward into new wing.
Minimize backtracking deaths by clearing respawn rooms once, then running through on return trips. Bindings from Controls help sprint-less navigation feel smoother on macOS and Linux.
Getting un-lost checklist
Ask yourself:
- Which tile set am I standing on — clinical, industrial, or boiler?
- Did I restore generator power yet?
- Which passage door number did I last unlock?
- Do I hold a new key color I have not used on a reader?
If all answers fail, reload Full Walkthrough at your chapter heading.
Related guides
- Getting Started — chapter structure before exploring
- Full Walkthrough — puzzle order through each zone
- Story & Lore — who died in each wing
- Guides Hub — all guide index
Frequently Asked Questions
Quick answers to the most common questions.
Is there an in-game map for Deadly Escape?
No world map UI exists. Use door lock lights, tile changes, and signage to orient. This wiki page replaces an official map.
Why do I keep returning to the same nurse station?
Backtracking is intentional. Keys found in later wings unlock doors near hubs you visited earlier.
Where is the generator puzzle located?
In the maintenance wing mid chapter one — Zone C on this map. Powering it unlocks I See The Light and opens security doors.
When do I pick up the rifle?
During chapter two in the deep facility zones — Zone F. Finding it unlocks the Ready for Action achievement.