Deadly Escape Combat, Ammo & Medkits
Every bullet counts — weapon roles, healing timing, and barrel kills for achievements.
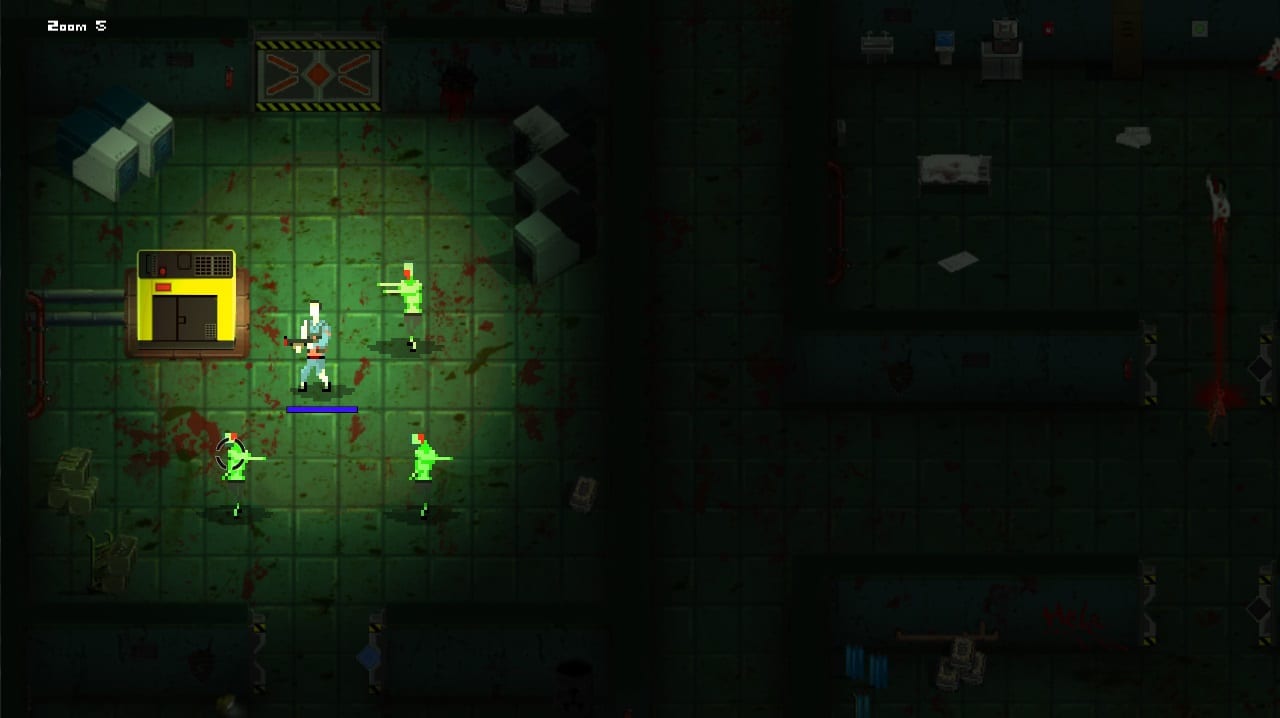
Deadly Escape advertises old-school survival horror action where you ration ammo because every bullet counts. That marketing line is accurate: handgun magazines are small, shotgun shells arrive in clusters tied to set-piece rooms, and rifle rounds should be reserved for high-value targets or achievement tracking. This guide explains weapon roles, medkit discipline, explosive barrel tactics for the Green Rain achievement, and how combat choices interact with thirteen Steam trophies.
Pair this page with Controls for input basics and First Boss Fight for arena-specific movement. Route planning in Full Walkthrough shows where ammo boxes spawn so you do not backtrack empty-handed.
Core combat philosophy
Top-down presentation does not mean arcade abundance. Treat each encounter as a budgeting problem:
- Identify threat count before firing — listen for groans behind doors noted on the Infirmary & Facility Map.
- Choose the cheapest kill — one precise handgun headshot beats five body shots.
- Reload in cover — open infirmary bays and side offices with single entrances make safe reload pockets.
- Skip optional fights when a door route allows kiting past a lone zombie.
- Save shotgun and rifle for spikes — chokepoints, mini-swarm rooms, and the chapter-one boss.
Dying reloads chapter progress, but knowledge persists. Use early deaths to learn spawn locations without guilt, then apply one-life discipline once routes are memorized.
Handgun — your default tool
The handgun is the first firearm you acquire in the infirmary wing. It balances reach and ammo efficiency for the first half of chapter one.
Best practices:
- Tap fire at range instead of holding click unless overwhelmed.
- Aim for upper torso or head to reduce shots per kill.
- Track kills toward That Was Close (ten handgun eliminations) and broader milestones like Getting Started (ten total kills) and Survivalist (twenty kills).
Handgun ammo appears in desk drawers, nurse stations, and corpses near story notes. Pickups respawn at checkpoints after death in many rooms, but do not rely on infinite farming — route efficiency still wins.
When the shotgun appears, keep the handgun for distant stragglers during backtracking. Switching weapons is covered in Controls.
Shotgun — crowd control
The shotgun trades range for spread and stagger. Use it when:
- Two or more undead block a doorway.
- You enter a scripted ambush after picking up a key item.
- You need reliable knockback during the First Boss Fight when barrels clutter the arena.
Achievement Stay Away! requires ten shotgun kills. Spread them across chapter one and two rather than wasting shells on solitary targets better handled by the handgun.
Reload time is slower than the handgun. Pre-switch before entering audio cues (metal groans, shuffling feet) described in the Full Walkthrough.
Rifle — precision and achievement hunting
Finding the rifle triggers Ready for Action. It suits mid-corridor engagements before enemies close distance.
Never saw it coming demands twenty rifle kills — the rarest combat achievement by global unlock rate. Plan a dedicated pass or track rifle eliminations from the moment you pick the weapon up:
- Prioritize rifle shots on fresh spawns with clear sight lines.
- Avoid switching back to handgun out of habit after the rifle spawn.
- Leave low-HP stragglers for rifle finishers when safe.
Rifle ammo is the scarcest type. Do not use it on the boss if shotgun shells remain unless you are confident in spacing — see First Boss Fight.
Medkits and healing
Medkits restore health lost to claw swipes, environmental traps, and boss slams. They are limited pickups, not shop purchases.
When to heal:
- After a fight ends, not during reload animations in open rooms.
- Before generator puzzle rooms where kiting damage stacks — generator restoration ties to I See The Light.
- Ahead of the chapter-one boss arena if you are below half health.
Achievement Ouch requires using five medkits across a playthrough. You cannot force this on a flawless no-damage run. Deliberately take manageable hits in early chapters if you are achievement hunting, or simply use medkits whenever injured and let the counter climb naturally across two chapters.
Medkits do not cure status effects beyond raw HP in typical survival horror fashion. If poison or bleeding exists in a room, retreat and heal before pushing deeper.
Explosive barrels and Green Rain
Industrial wings and the first boss arena place explosive barrels that detonate when shot. Any undead caught in the blast counts toward Green Rain — ten kills via barrels.
Barrel tactics:
- Lure groups past barrels before shooting the container.
- Chain reactions — one detonation can ignite adjacent barrels; stand back after triggering.
- Boss rooms — the chapter-one finale reportedly lets barrels interfere with boss pathing; use them for damage and achievement progress but watch for glitchy stuck animations noted in Steam discussions.
- Do not waste handgun ammo finishing survivors a barrel already damaged — let splash complete kills when possible.
Route barrels intentionally during a single playthrough instead of replaying only for Green Rain. The Infirmary & Facility Map marks warehouse and maintenance zones where barrels cluster.
Kill count achievements at a glance
| Achievement | Requirement | Suggested approach |
|---|---|---|
| Oh No! | Kill first undead | Automatic on tutorial encounter |
| Getting Started | Kill 10 undead | Handgun in early infirmary |
| That Was Close | 10 handgun kills | Tap-fire headshots chapter one |
| Stay Away! | 10 shotgun kills | Chokepoints and boss arena |
| Survivalist | Kill 20 undead | Natural progression both chapters |
| Nightmares | Kill 30 undead | Full run with optional room clears |
| Never saw it coming | 20 rifle kills | Track from rifle pickup onward |
| Green Rain | 10 barrel kills | Lure groups in maintenance zones |
Combat achievements stack with narrative progress. Consult Getting Started if you want a single run that hits most counters without replays.
Environmental and non-gun solutions
Not every obstacle requires shooting. Locked doors need keys; generators need fuses. Sometimes kiting an undead away from a keypad buys time to enter codes listed in the Full Walkthrough.
Dark sections reward patience over panic firing. Listen for audio direction before spending ammo on shadows.
Boss combat resource plan
Chapter one culminates in a multi-phase boss using melee swings and environmental hazards. Budget:
- At least one full handgun magazine plus partial shotgun stack entering the arena.
- One medkit reserved unless you are speedrunning.
- Awareness of barrel positions for damage and Green Rain credit.
Detailed patterns live on First Boss Fight. Chapter two raises enemy density before the hatch escape — keep rifle ammo for late corridors if hunting Never saw it coming.
Common mistakes
- Magazine dumping on one zombie — wastes That Was Close opportunities.
- Shotgun sniping at range — pellets dissipate; close distance safely.
- Healing at full health — wastes Ouch-eligible medkits if you never take damage later.
- Ignoring barrels — leaves Green Rain unfinished after credits.
- Rifle on every target — stalls Never saw it coming before you reach the twenty-kill threshold.
Related guides
- Controls — reload and weapon swap inputs
- Full Walkthrough — ammo pickup locations by room
- First Boss Fight — barrel and medkit timing in the arena
- Tier List — weapon priority when inventory space is tight
Frequently Asked Questions
Quick answers to the most common questions.
Which weapon should I use most in Deadly Escape?
The handgun is your default for single targets and ammo efficiency. Switch to shotgun for groups and rifle for mid-range precision or achievement tracking.
How do I unlock the Green Rain achievement?
Kill ten undead with explosive barrel blasts. Lure enemies near barrels in maintenance areas and shoot the barrels to detonate them.
When should I use medkits?
Heal after fights when safe, before major set-pieces, and before the first boss. Using five medkits across a run unlocks the Ouch achievement.
Is ammo unlimited if I die and retry?
Many room pickups respawn at checkpoints, but route planning still matters. Do not assume infinite farming will cover repeated wasteful shooting.