Deadly Escape Weapons Tier List
Handgun, shotgun, and rifle ranked for survival and Steam achievement routing.
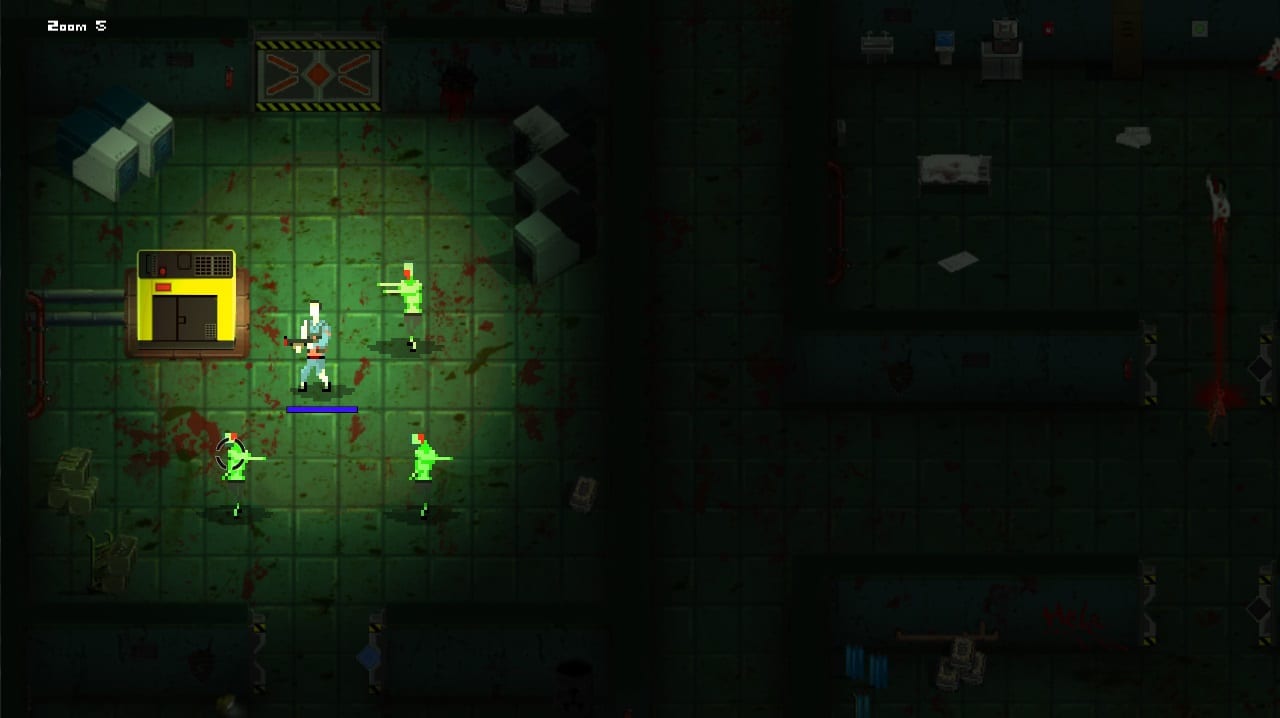
Deadly Escape gives you exactly three firearms across a single-chapter facility escape: a handgun, a shotgun, and a rifle. There is no craft bench, no weapon mods, and no shop—only what you find in lockers, corpses, and security rooms. Because ammo is finite and death sends you back to the title screen, weapon choice is really ammo accounting dressed up as combat flair.
This tier list ranks all three guns for the current Steam build (app 649450) using survival efficiency, achievement routing, and pickup timing. Cross-read the key items tier list for medkits and barrels that stretch your ammo budget, and the 100% completion route when you want every kill trophy in one sitting.
Ranking criteria
We score each weapon on four axes:
Damage per shot — How many undead die before they reach you?
Ammo availability — How many pickups exist before the next checkpoint?
Achievement utility — Does the gun unlock a kill-count trophy you cannot replicate elsewhere?
Situational fit — Narrow halls favor spread; long sightlines favor precision.
Tier labels follow S (must master), A (strong specialist), B (essential early tool).
S tier — Rifle
The rifle is the strongest all-around firearm once you reach it mid-to-late in the complex. It combines reliable stopping power with enough range to headshot shamblers before they stack in doorframes. Finding it triggers Ready for Action (35.5% global unlock rate)—evidence many players reach the rifle room but not everyone finishes the run.
Achievement ties:
- Ready for Action — Find the rifle (automatic on pickup).
- Never saw it coming — Kill 20 undead with the rifle (15.2% unlock rate, the rarest combat trophy).
Why S tier: After pickup, the rifle should become your default for any encounter where you have three or more shots spare. Farm the remaining rifle kills for Never saw it coming in late corridors where handgun rounds would take twice the ammo. Do not hoard the rifle only for a boss—there is no separate boss-only gun, and under-using it is how players miss the 20-kill quota.
Weakness: You cannot earn rifle kills before the pickup, so early rooms are irrelevant to Never saw it coming. Plan a dedicated farming loop in the final third of the map once I See The Light is secured and lights reveal off-angle spawns.
A tier — Shotgun
The shotgun deletes crowds at point-blank range. In pixel-close quarters—infirmary junctions, storage closets, stair landings—it outperforms the handgun even though shells are rarer than pistol rounds.
Achievement ties:
- Stay Away! — Kill 10 undead with the shotgun (34.2% unlock rate).
Why A tier, not S: Spread damage is wasted on single targets in open rooms, and ammo boxes often yield only a handful of shells. Over-reliance leaves you dry before rifle territory. Use the shotgun when you hear multiple footsteps or when a group blocks a door you must cross immediately.
Routing tip: Finish Stay Away! before you transition fully to rifle-primary. Ten shotgun kills sound trivial, but if you skip the shotgun after three shells, you may need a backtrack loop covered in the Getting Started guide.
B tier — Handgun
The handgun is your first firearm and the most ammo-efficient tool for the opening third of the game. It will never match the rifle’s per-shot output, but it is available when every undead still feels terrifying and you have not learned spawn timing yet.
Achievement ties:
- That Was Close — Kill 10 undead with the handgun (48.1% unlock rate).
Why B tier despite being first: B here means “essential, not best endgame.” You need the handgun to survive until shotgun and rifle pickups, but continuing to pistol-farm after rifle acquisition slows Never saw it coming. Treat handgun kills as an early checklist item: finish That Was Close before shotgun-heavy rooms if possible, then shelve the sidearm except for true emergencies.
Ammo discipline: Headshots matter. The game rewards 90s-survival positioning—backpedal to a choke, tap fire, reload behind cover. Wasted handgun rounds directly steal shotgun and rifle opportunities later.
Full comparison table
| Tier | Weapon | Damage profile | Ammo rarity | Kill achievement | Global unlock |
|---|---|---|---|---|---|
| S | Rifle | High precision, best range | Medium | Never saw it coming (20 kills) | 15.2% |
| S | Rifle | — | — | Ready for Action (find rifle) | 35.5% |
| A | Shotgun | High burst, close range | Low | Stay Away! (10 kills) | 34.2% |
| B | Handgun | Moderate, safest early | High | That Was Close (10 kills) | 48.1% |
General kill achievements that cross weapons
Several trophies count total kills regardless of weapon. Stack them while completing weapon-specific quotas:
- Oh No! — Kill the first undead (68.8%).
- Getting Started — Kill 10 undead total (51.4%).
- Survivalist — Kill 20 undead total (41.6%).
- Nightmares — Kill 30 undead total (37.4%).
The all achievements page lists every requirement. Weapon tiers help you distribute those totals without double-counting inefficiently—handgun kills early, shotgun kills mid, rifle kills late.
Recommended swap order for a 100% run
- Handgun from first pickup through infirmary — finish That Was Close (10 kills).
- Shotgun when shells appear — finish Stay Away! (10 kills) in choke points.
- Rifle on acquisition — trigger Ready for Action, then farm Never saw it coming (20 kills) before the boss.
- Return to handgun only if rifle ammo runs dry during optional backtracking.
Detailed timing lives on the 100% route.
Common mistakes
Saving the rifle for a boss that never comes — The first boss dies to whatever gun you have; hoarding rifle ammo causes Never saw it coming to slip away.
Using shotgun on single targets — Burns shells needed for Stay Away! crowd scenes.
Ignoring handgun once the shotgun appears — If That Was Close is not done, finish it before shotgun kills overwrite your mental accounting.
Explosive barrel kills for weapon trophies — Barrel kills count toward Green Rain, not weapon achievements. See key items.
Related pages
- Tier list hub — overview and key item tiers
- Key items tier list — medkits and barrels that save ammo
- All achievements — full trophy list with rates
- 100% completion route — one-session routing
- Getting Started guide — early-room walkthrough
Master the three-gun rotation and Deadly Escape stops feeling like a lottery. The rifle carries endgame survival; the shotgun clears chokepoints; the handgun bootstraps everything else—each with a Steam achievement to prove you used it correctly.
Frequently Asked Questions
Quick answers to the most common questions.
What is the best weapon in Deadly Escape?
The rifle is S tier once found—it has the best damage and range and unlocks Ready for Action plus the Never saw it coming kill trophy. Keep the handgun for early rooms and ammo efficiency.
Which weapon achievement is the hardest?
Never saw it coming (20 rifle kills) has the lowest unlock rate at 15.2%. Plan rifle kill farming in the late facility after you pick up the weapon.
Should I use the shotgun or handgun in tight halls?
Use the shotgun when multiple undead stack in a chokepoint. Use the handgun for single targets to preserve shells for the Stay Away! achievement.
Do explosive barrels count for weapon kill achievements?
No. Barrel kills only progress Green Rain. Weapon trophies require direct handgun, shotgun, or rifle kills.